How to set up a geofence in Personalizer
Setting up a geofence in your Dealer Inspire Personalizer allows you to deliver targeted, location-based messages to website visitors based on where they are in real time. Whether you want to stay top-of-mind for someone near a competitor’s lot or offer a special incentive to shoppers in a specific zip code, the Geofencing Editor gives you full control over who sees your message — and when.
In this article, you’ll learn how to create, configure, and test geofencing rules within your Personalizer, so you can deliver relevant messaging to the right local shoppers at the right moment.
To get started
Go to the Cars.com Hub. Click on Dealer Inspire, then Manage Website.
1 Go to your personalizers
- From the left-side menu, click Personalizer
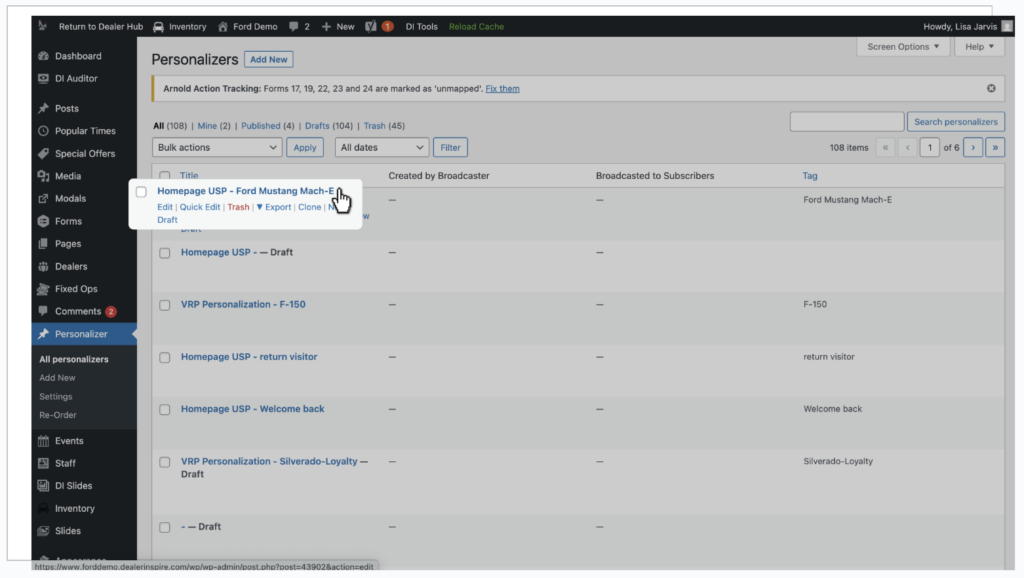
- Click All Personalizers to edit an existing one, or click Add New to create a new personalizer from scratch
If starting from scratch, check out our other article on how to set up your personalizers.
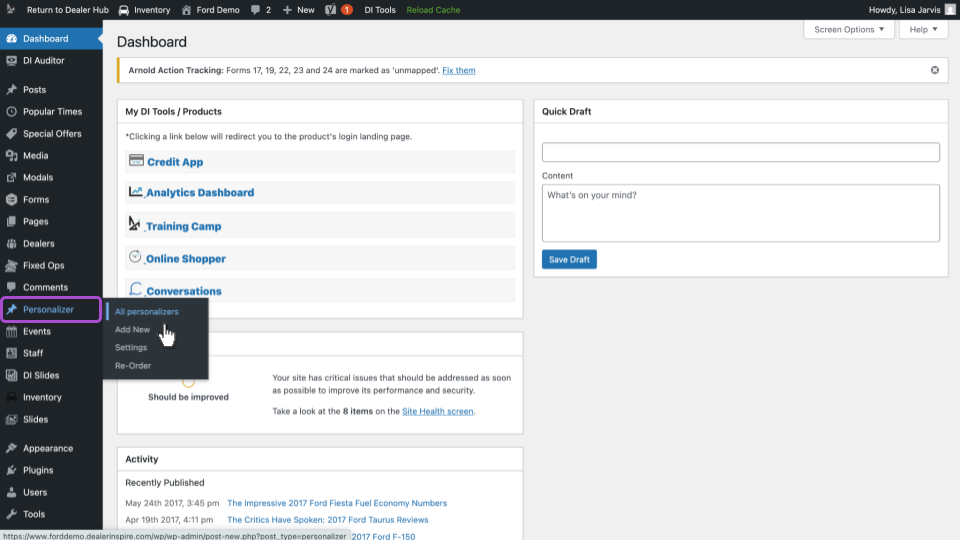
- Click the Personalizer you want to update with geofencing.
2 Find the Geofencing Editor
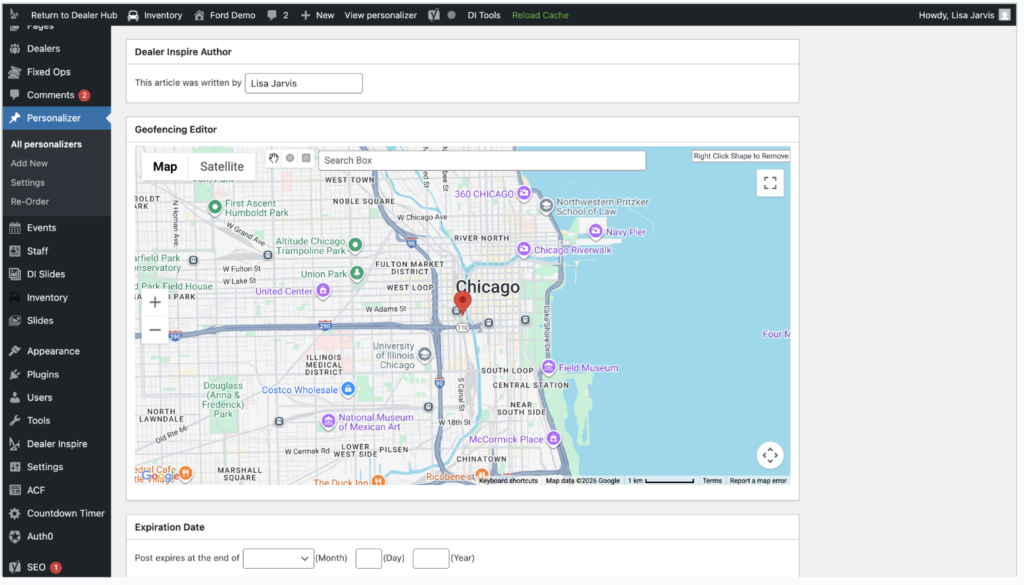
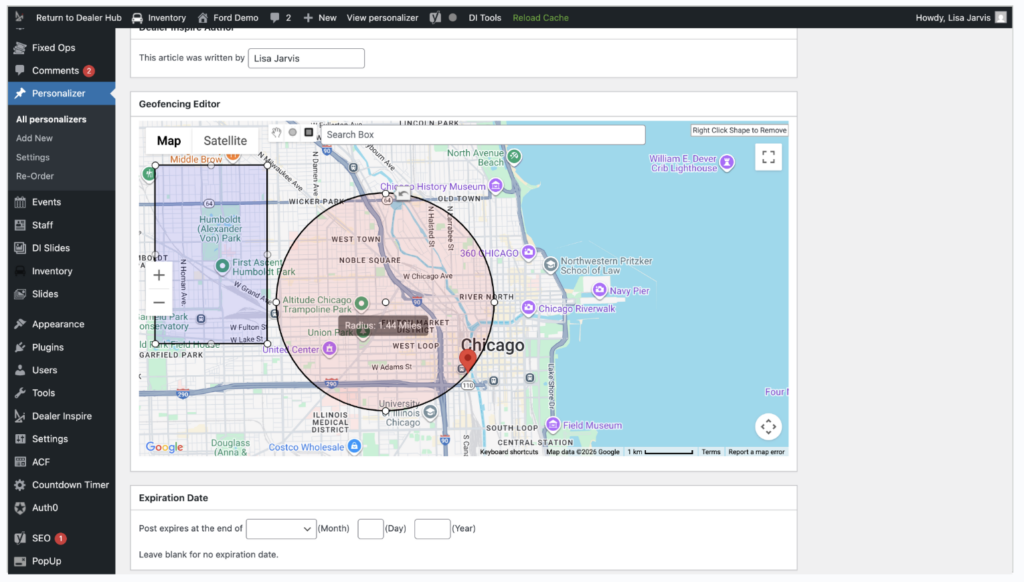
Scroll to the bottom of the Personalizer editor and locate the Geofencing Editor section.
3 Adjust the map and location
Make the map easier to navigate before setting your location:
- Click Satellite to see real-world imagery
- Click the Expand icon in the top-right to open full-screen mode
- Use the Hand icon to move the map
- Zoom in/out with the + and – icons

4 Set your geofence perimeter
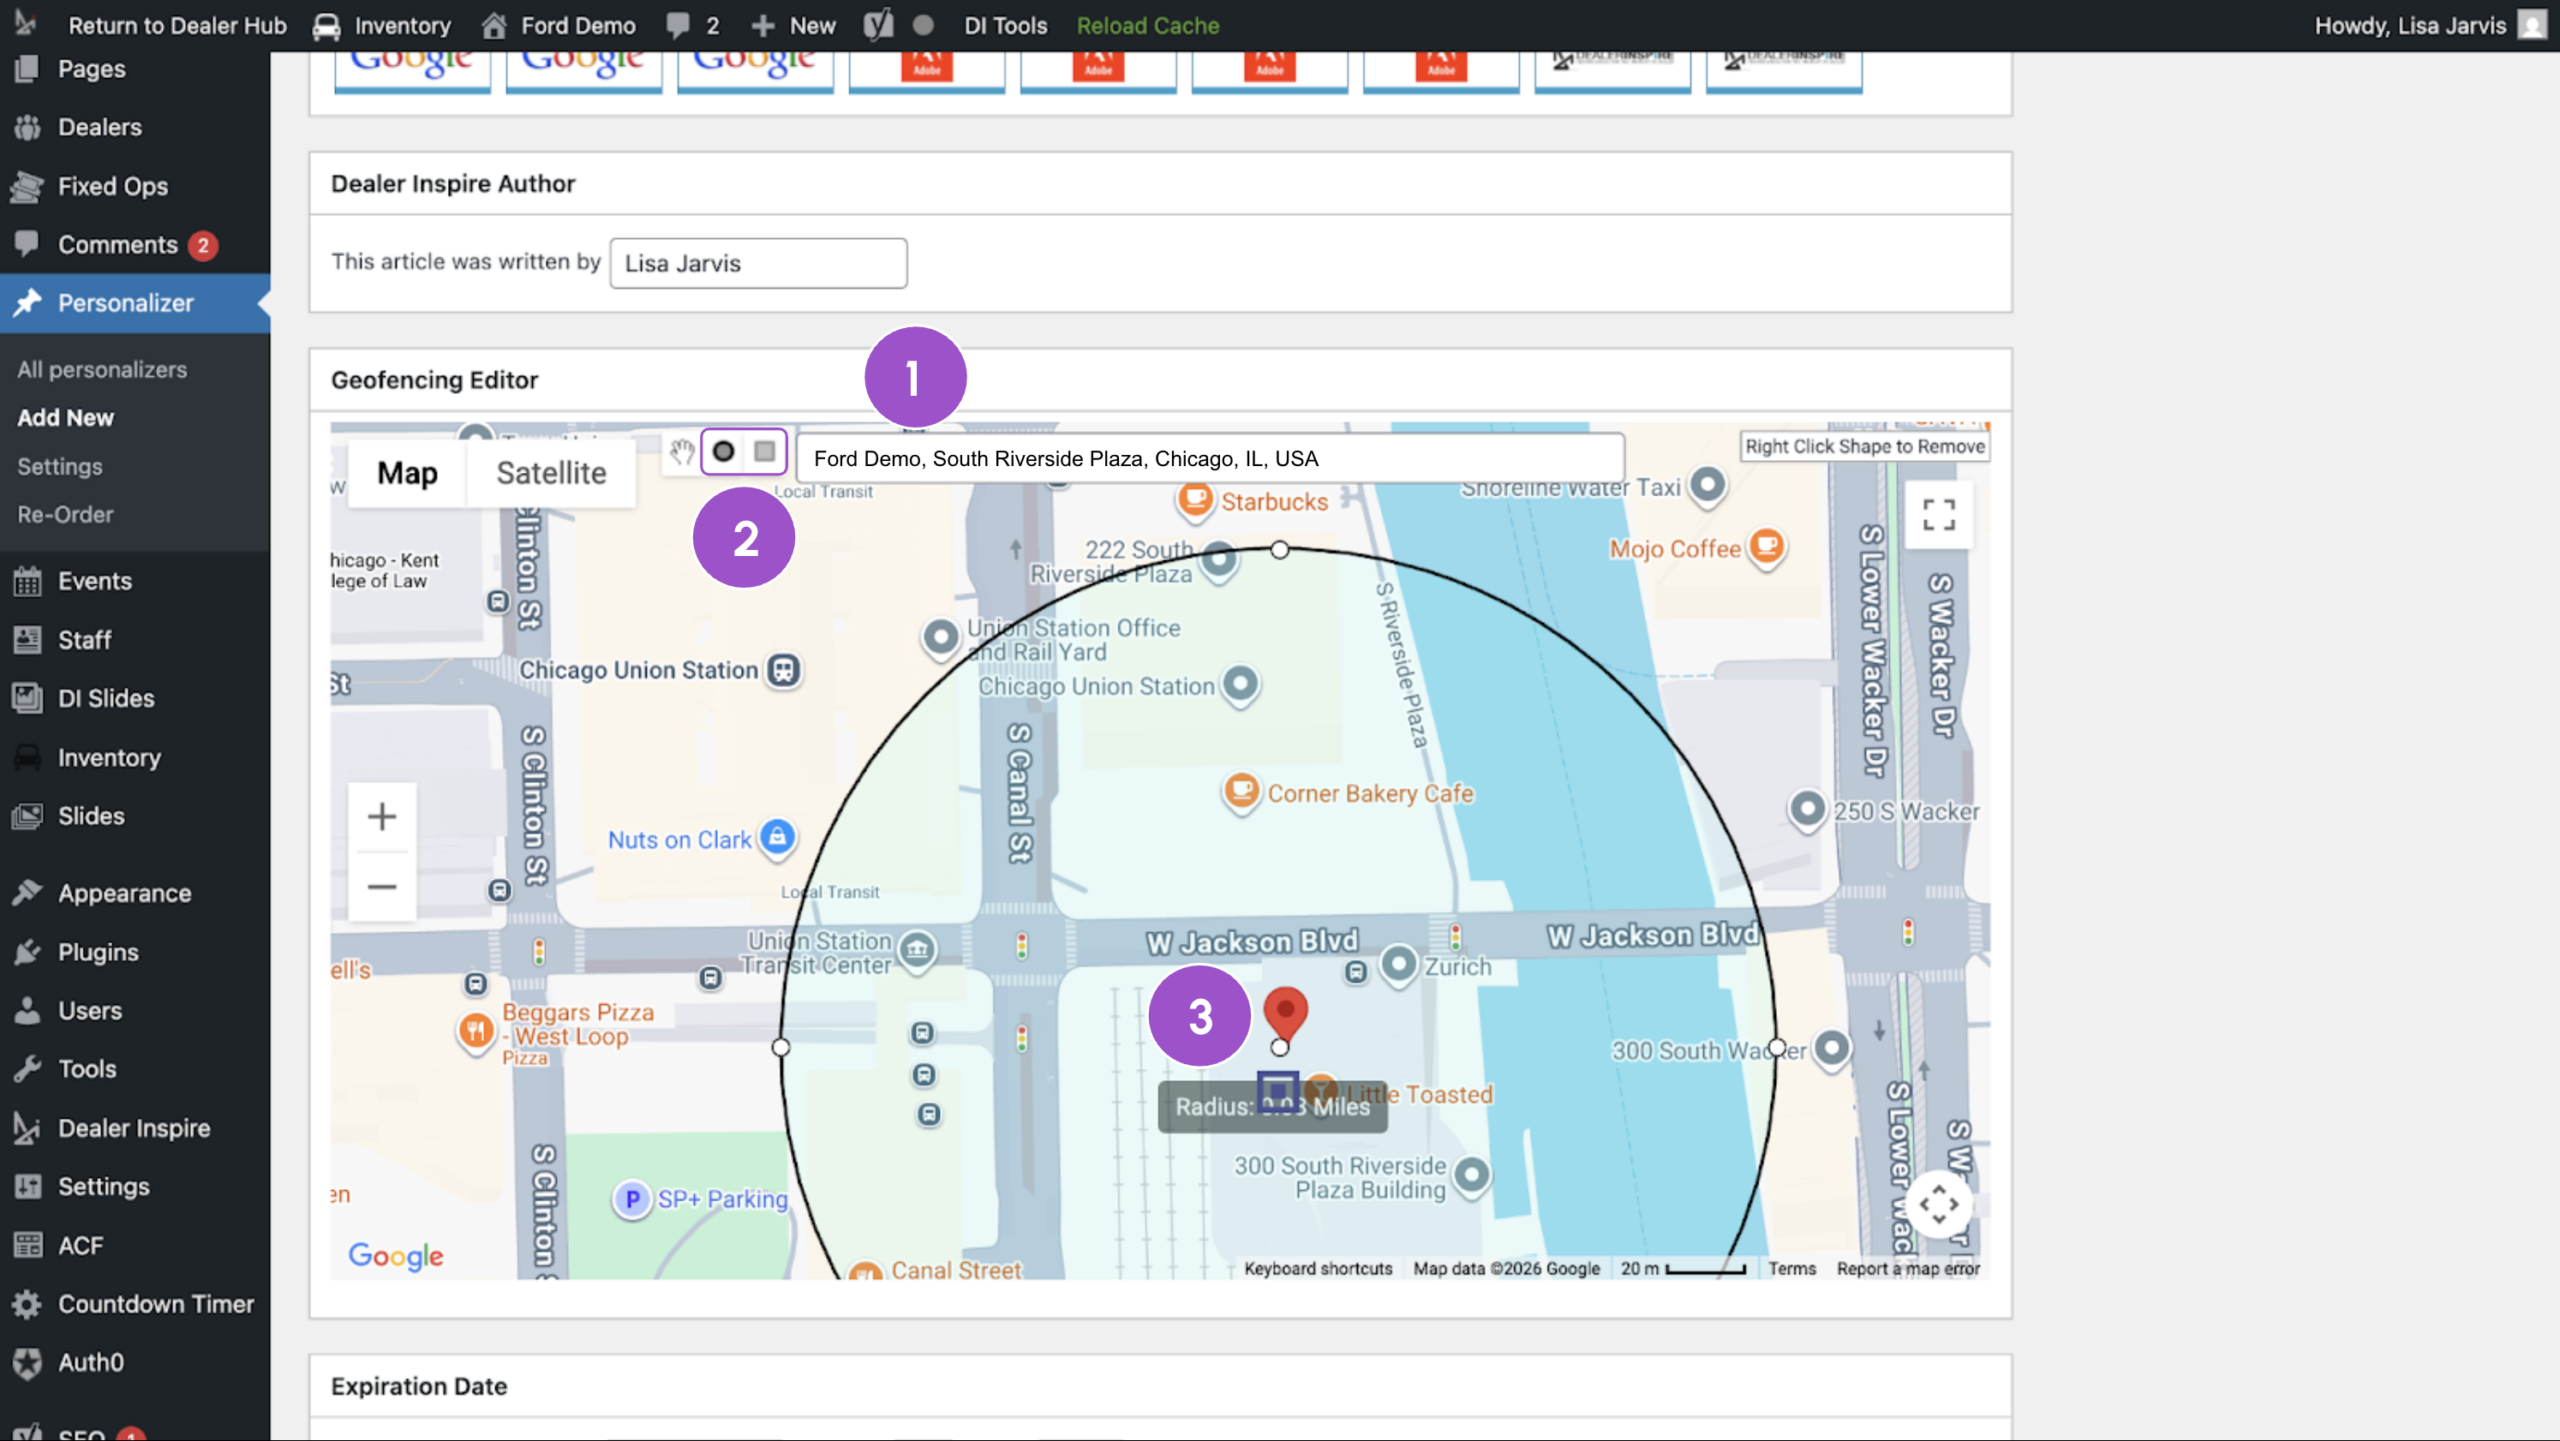
- Use the search bar to enter a zip code or street address
- Choose your geofence shape — circle or square
- Right-click the shape to remove it, if needed
- Right-click the shape to remove it, if needed
- Click and drag from the pin to set the perimeter
- You can zoom in for granular targeting or zoom out to reach a broader radius.
5 Adjust your reach
Once you set your geofence:
- Drag the white dots on the perimeter to expand or contract the radius
- The center of the geofence will display the distance (e.g., 1.92 miles)
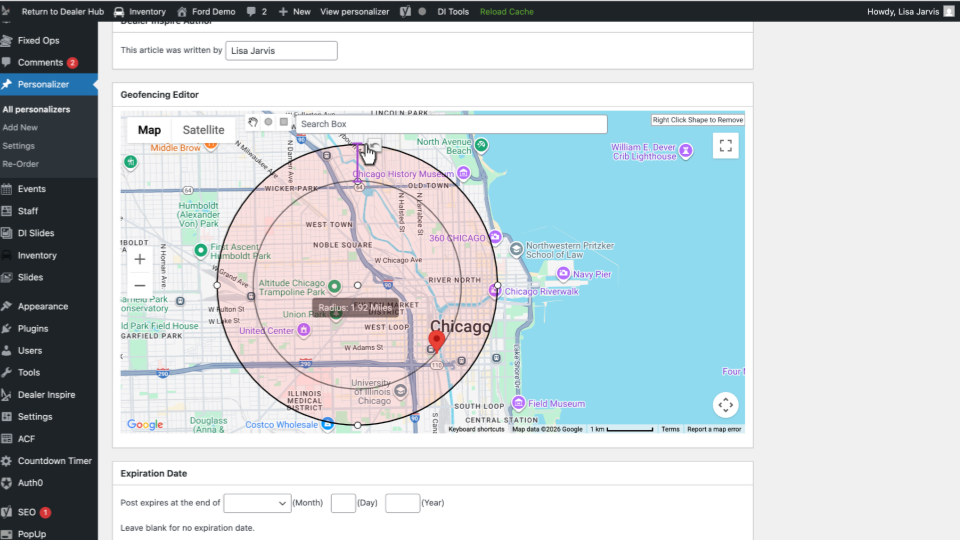
- You can add multiple geofences in different locations if needed
6 Confirm your ruleset
After setting your geofence(s), the personalizer will automatically apply them to your ruleset. Any shopper within the geofenced radius will see your personalized message when visiting your website — as long as their location services are enabled.

Keep in Mind
- Shoppers must have location services enabled on their device to be included in geofencing
- If location is disabled, the personalizer won’t fire based on geofencing — but may still trigger based on other active rules
7 How to test your personalizer
To confirm your setup:
- Open an incognito browser window
- Simulate the conditions of your ruleset — including being physically located inside your geofence
- Combine rules as needed — e.g., “returning visitor” + “in-location” — to test complex rule combinations
Note: To test a location-based rule, you must actually be in that location.
8 Publish your personalized message
Once everything looks good:
- Scroll to the top of the page
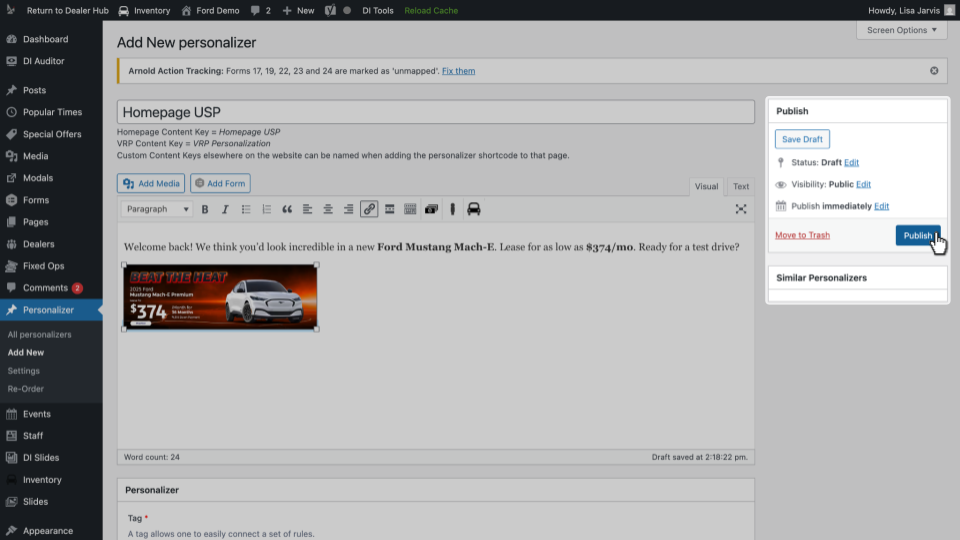
- Click Publish
- Click Reload Cache to apply updates
To see your personalized message live, make sure you trigger the ruleset conditions.