How to customize the visitor experience in Conversations
The Visitor Experience settings allow you to tailor the look and feel of Conversations on your dealership website. By adjusting elements like button color, placement, welcome screen content, and proactive messaging, you create a branded, user-friendly experience that encourages more customer engagement.
In this article, you’ll learn how to access and configure each element of the Conversations Visitor Experience, including design, messaging, and layout settings.
To get started
Go to the Cars.com Hub. Click Dealer Inspire, then Conversations.
1 Access the Visitor Experience settings
Only users with admin access can modify the Visitor Experience.
- From Conversations, click your name in the top right corner.
- Select Account Admin.

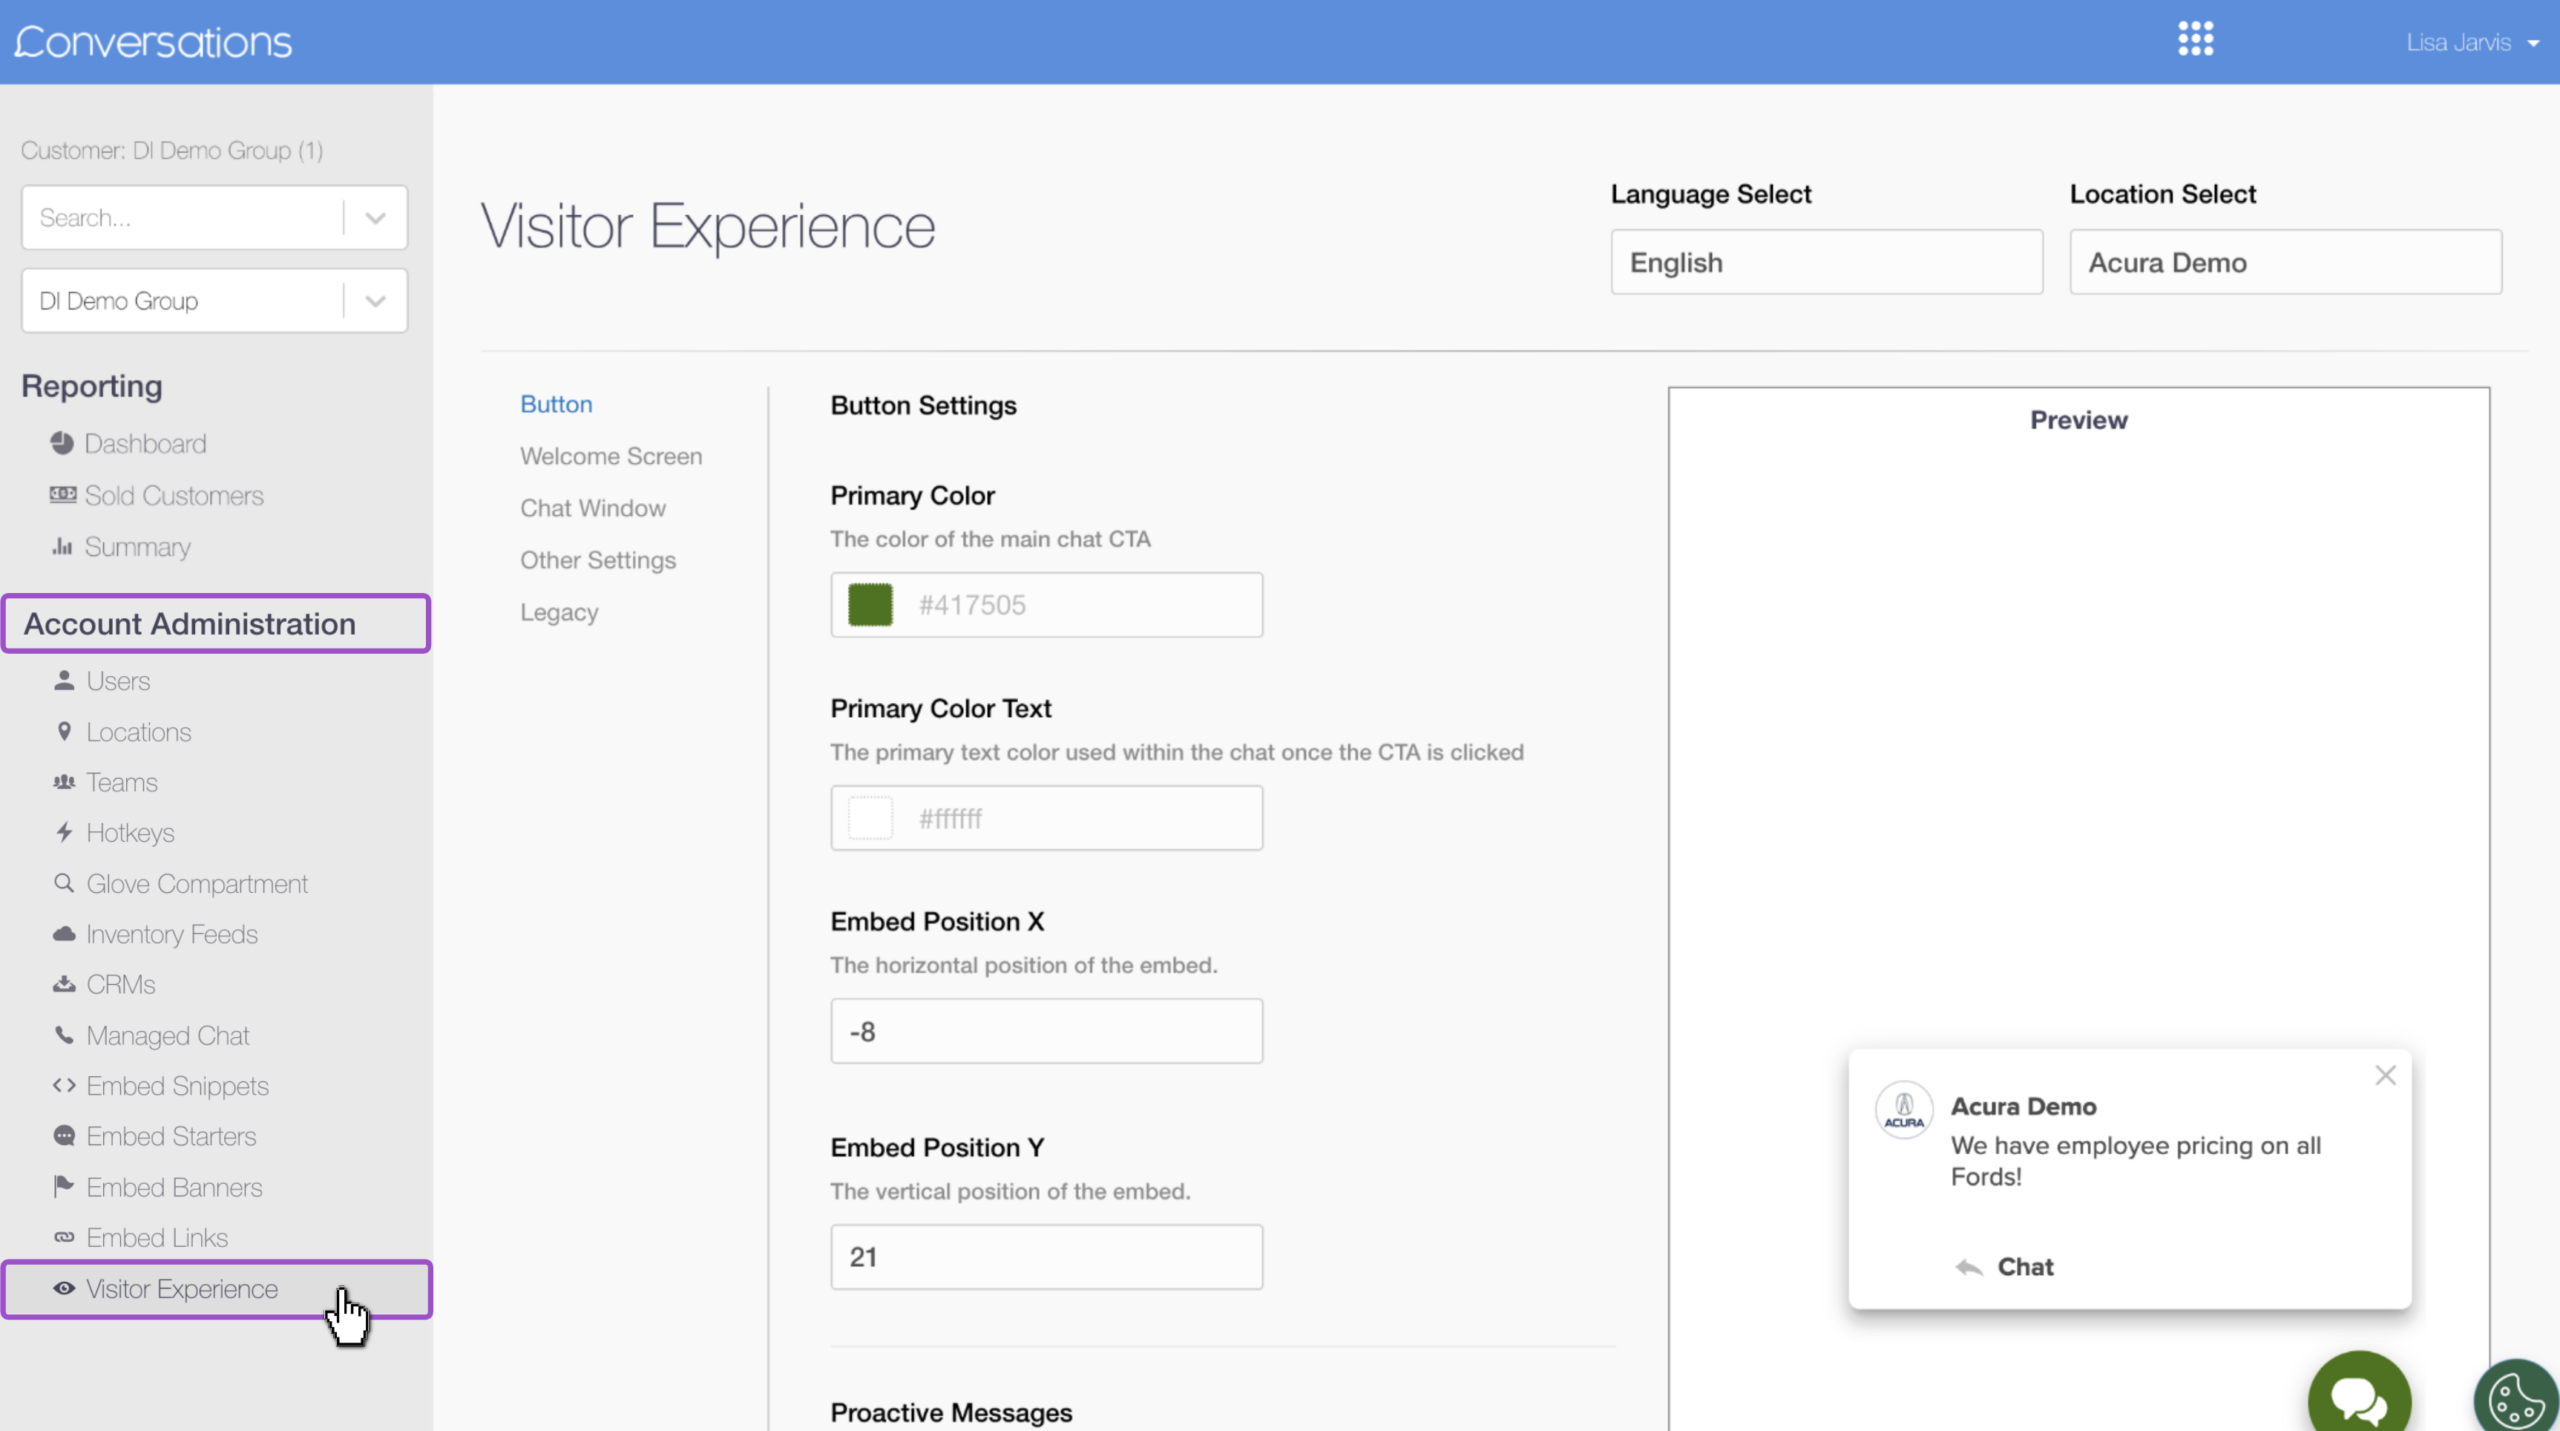
- In the left-hand menu, click Visitor Experience under the Account Administration section.
Note: Some OEMs may require certain settings, so consult your Performance Manager or Account Executive before making any adjustments.
2 Set your location and language
Each dealership location must be updated individually. Before making changes:
- Confirm you’ve selected the correct dealership location.
- Set the appropriate language for the Visitor Experience if applicable.

3 Customize the chat button and proactive message
Within the Button tab, you can adjust the Conversations embed and how it appears to your shoppers on your dealership website. You can customize the color of the icon and the position of it on the screen, and set up proactive messaging to encourage a visitor to start a chat.
Button tab
- Primary Color: Use the color picker or enter a HEX code to match your dealership branding. Changes will preview on the right side of the screen.

- Primary Color Text: Leave as white for best contrast unless your button is very light in color.
- Embed Positioning (These values anchor the chat icon neatly in the bottom-right corner):
- X: -25
- Y: 25

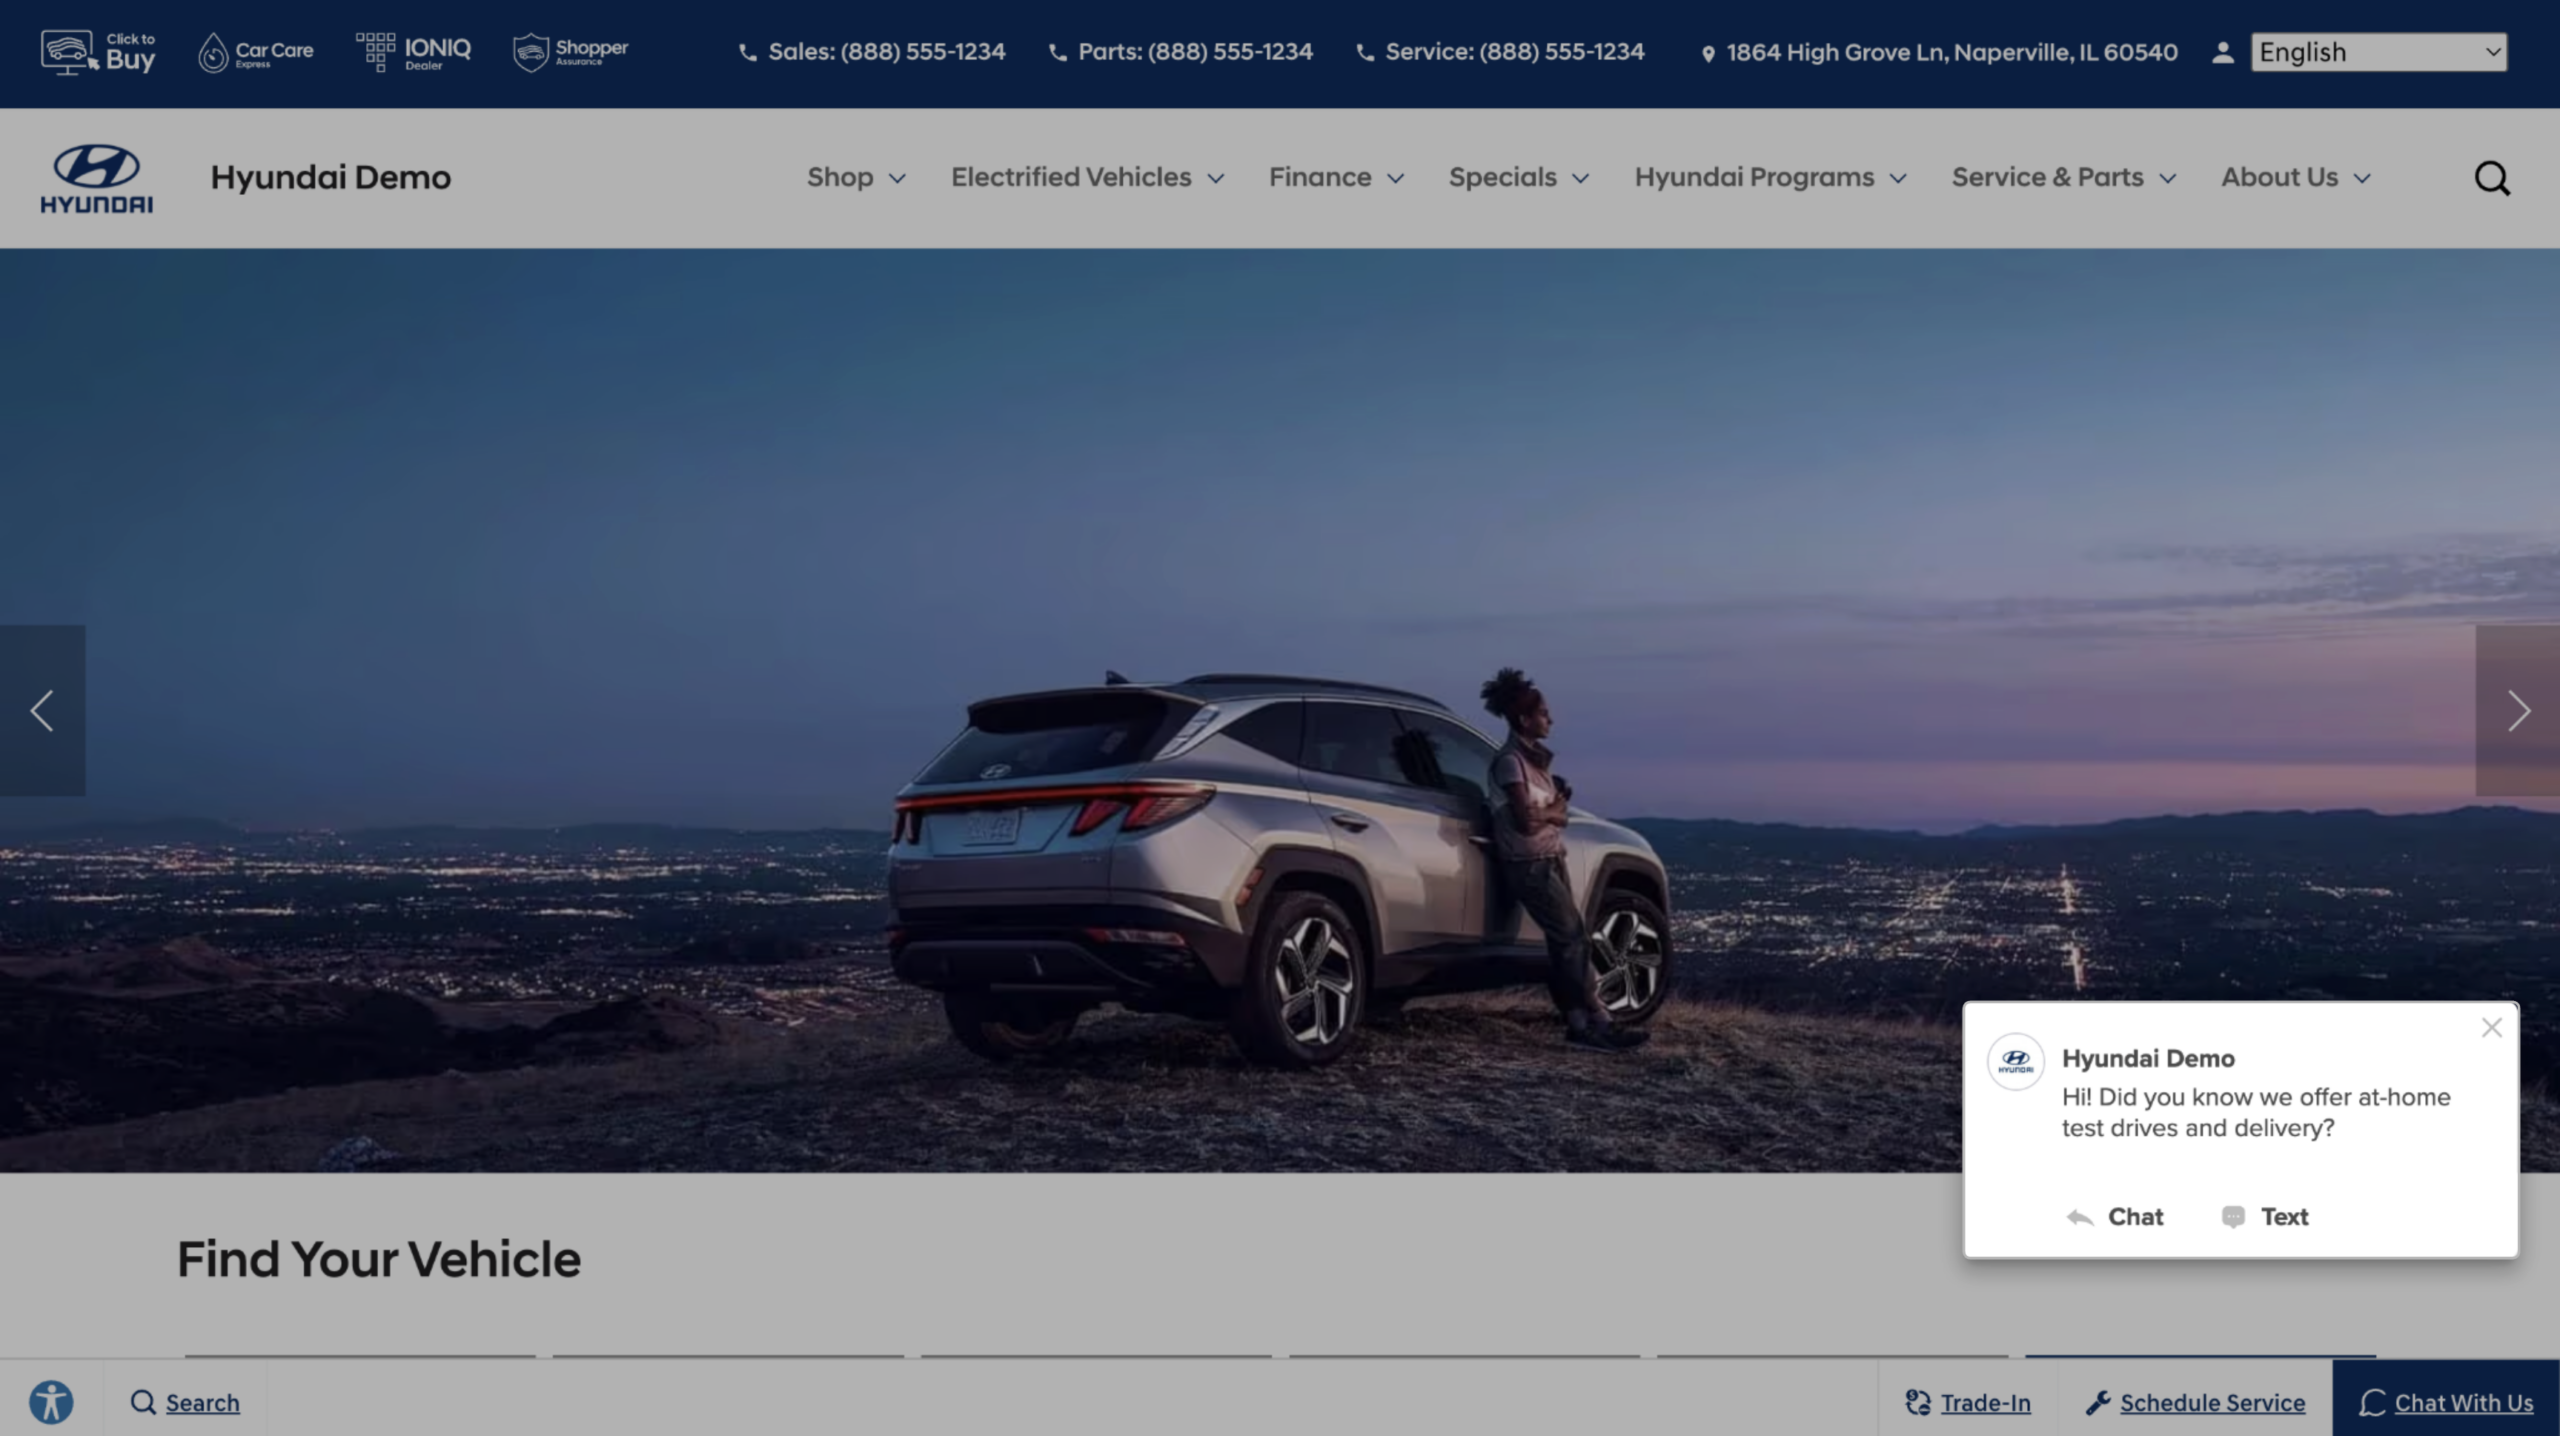
Proactive Messaging
The proactive message section is where you can customize the welcome message and frequency of the chat tool. This is what helps encourage customers to engage in a chat when they land on your site.
- Proactive Message: Add a friendly, actionable greeting to encourage shoppers to start a chat.
- Popup Delay: Set how many seconds after page load the chat window appears (e.g., 1 second).
- Cooldown: Controls how long to wait before showing the message again if the visitor dismisses it.
- Show Texting Toggle: Enable this if you’d like the “Text” option to appear alongside “Chat” in the proactive popup.
Tip: Use the preview panel to confirm your layout and design updates before saving.
Click Save Changes when complete.

4 Customize the welcome screen
The Welcome Screen is shown after the visitor clicks the chat icon.
Start Card
- This is a brief welcome message that appears first in the chat interface.

Featured Content cards
Adding content cards allows you to customize the screen by incorporating feature videos, special financing offers, or your location and hours.

- To use existing content, click the + next to any card in the list.
- To create a new card, click Create Featured Content.

- Select the dealership location this will populate for
- Title your card for easy reference
- Enter in a brief call to action
- Add a URL to route to. Consider something like your New Vehicles VRP or a Specials Page
- Upload a clear image to add a visual element to the welcome card

After you Save Changes, you can:
- Reorder content using the drag handle on the left.
- Set expiration dates by clicking the calendar icon.

Map & Text Toggle
- Visual Map: Enable or disable the map showing your dealership’s location.
- Text Option: Choose whether to display a text option in the chat window.
Click Save Changes when finished.

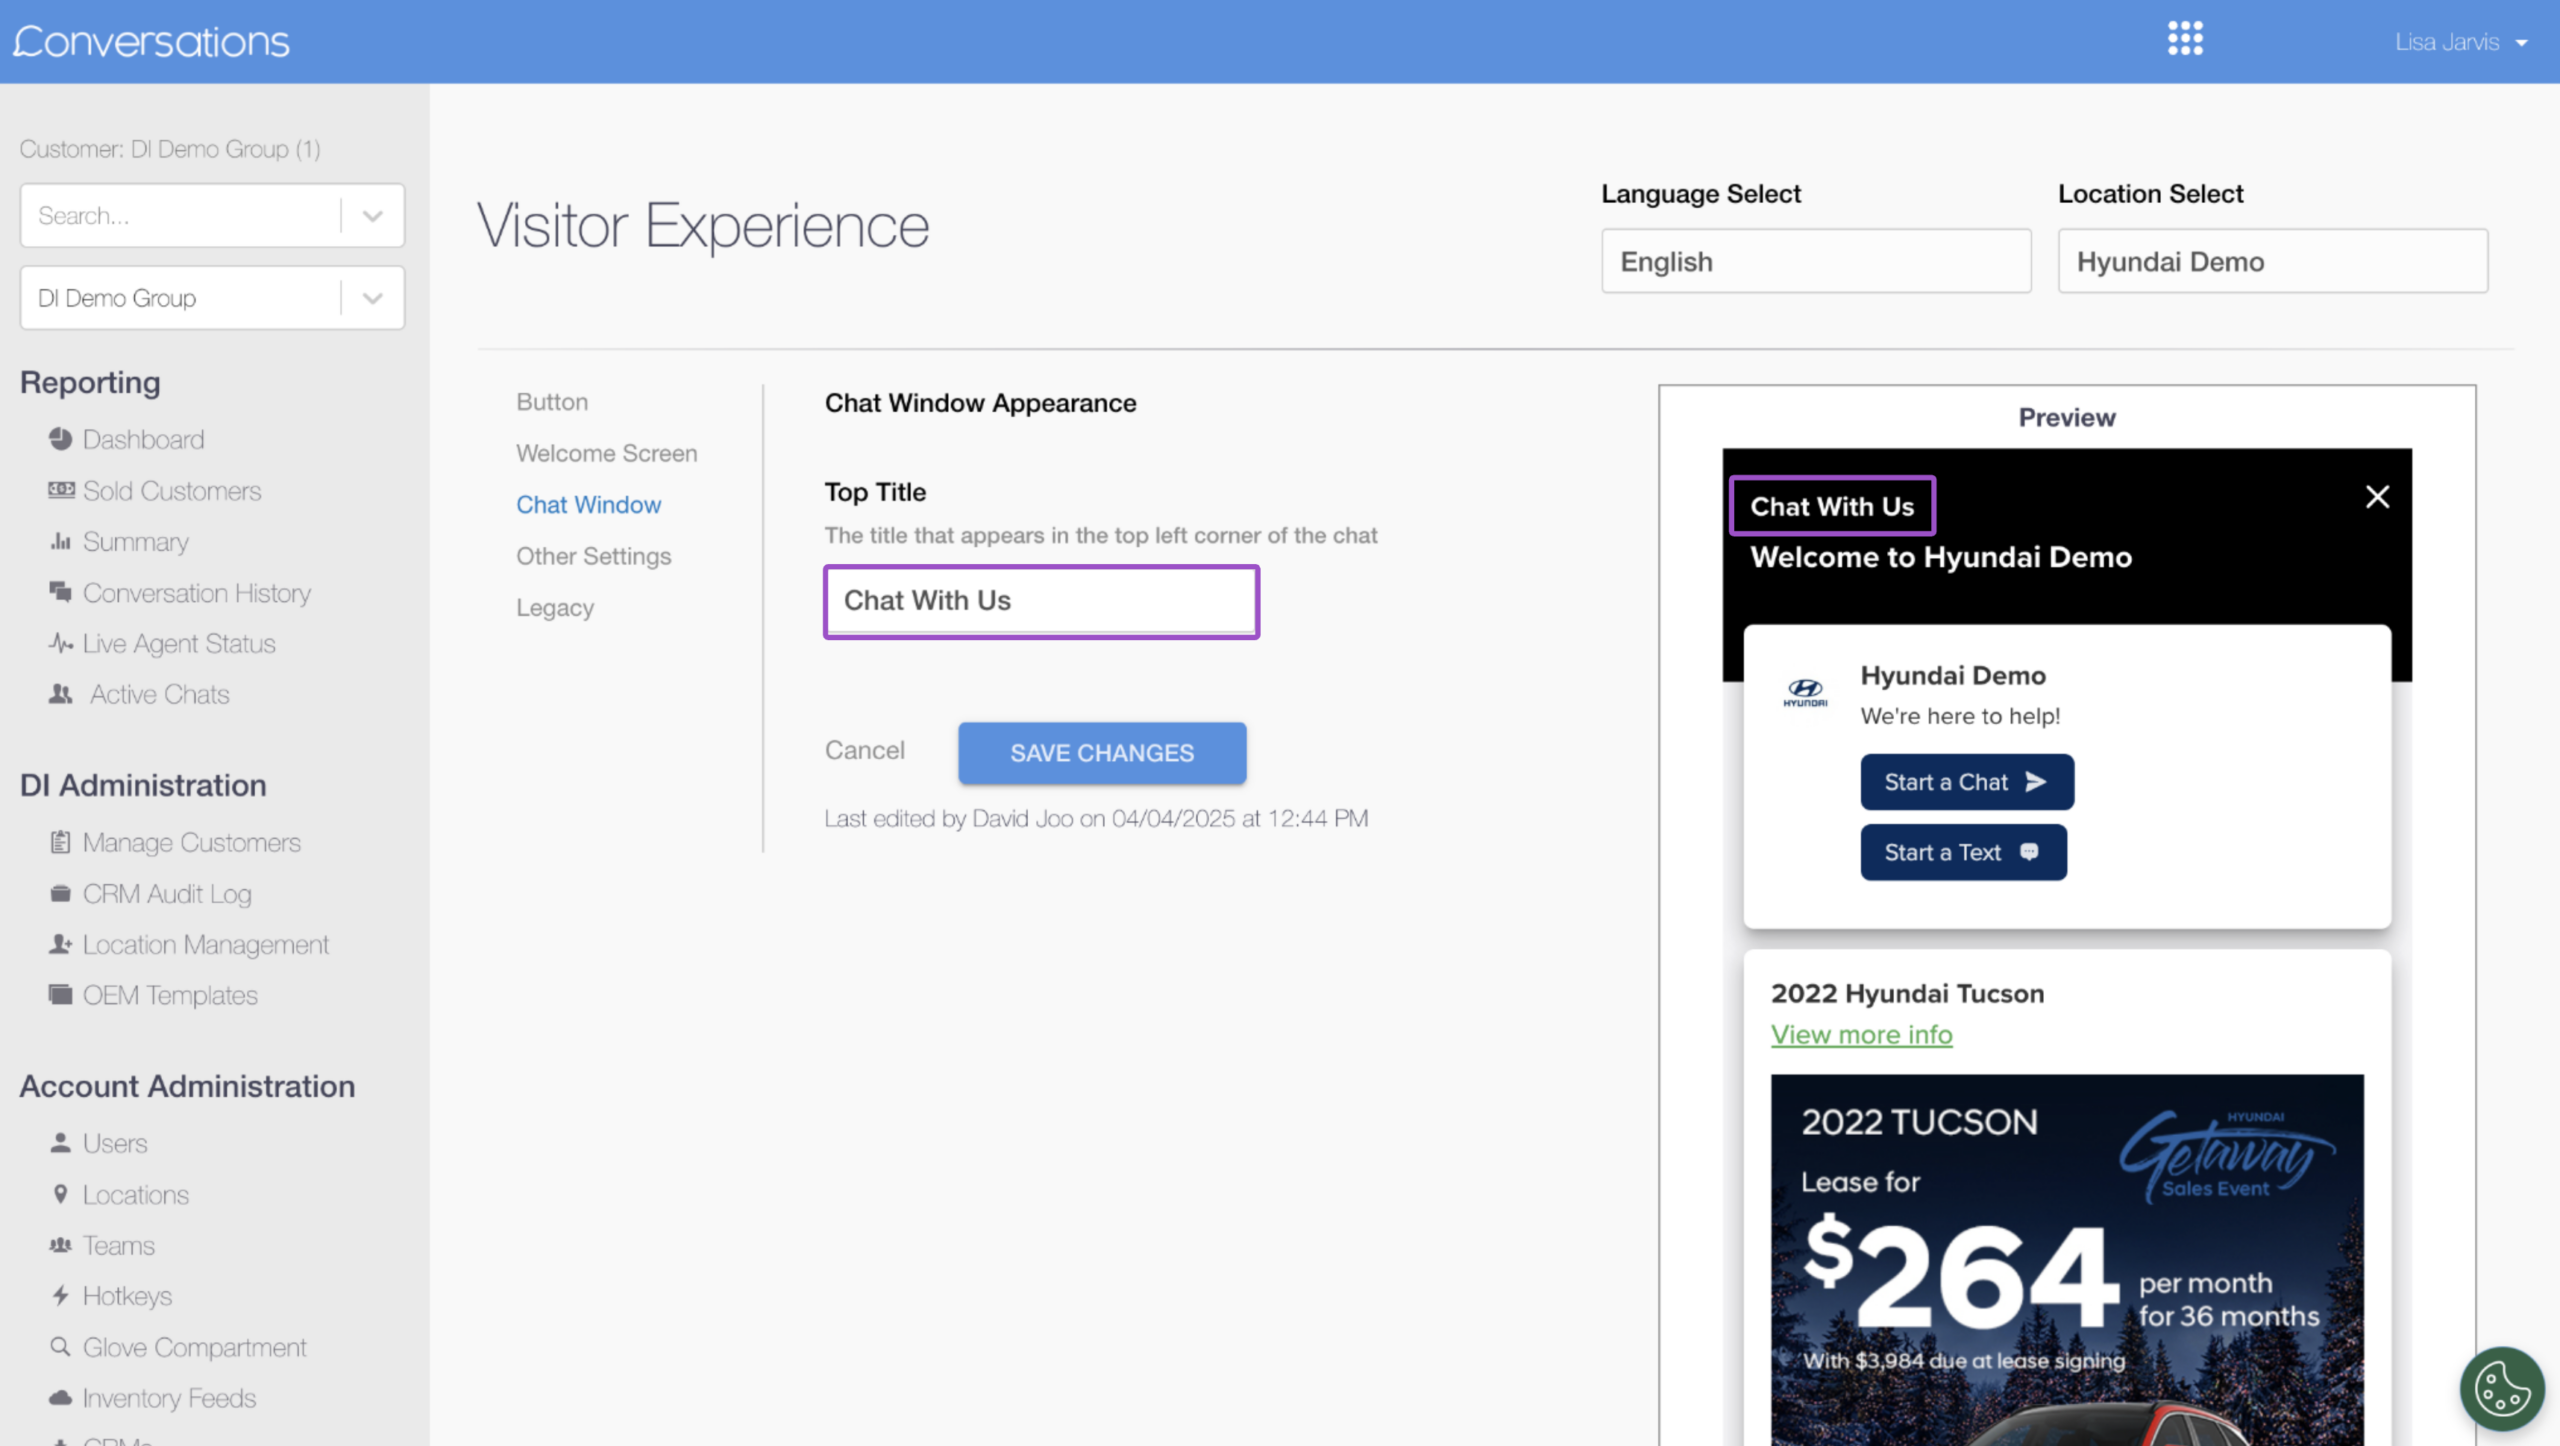
5 Edit the chat window greeting
The chat window greeting appears above the “Welcome to [Dealership]” message.
- Click the Chat Window tab.
- In the Top Title field, enter a short greeting (e.g., “Questions? We’re here to help.”).
- Leave this field blank to use the default (“Live Chat”).

- Use the live preview panel to review your changes.
- Click Save Changes to apply.
Note: Other Settings and Legacy are tabs reserved for use by our Support team.
6 Final steps
Once saved, refresh your dealership website to confirm your changes are visible in the live environment.
Reminder: Changes are not saved automatically. Always click Save Changes before exiting each tab.